
How to Install Fiberglass Mesh for Walls and Tiles
You strengthen walls and tiles by using Fiberglass Mesh. This material protects surfaces from cracks and damage. Construction studies show that Fiberglass Mesh provides extra strength, durability, alkali resistance, and reinforcement.
| Benefit | Description |
|---|---|
| Strength | Prevents crack formation and improves stability. |
| Durability | Makes materials more resistant to wear and tear. |
| Alkali Resistance | Works well in wet areas like bathrooms. |
| Reinforcement Capabilities | Keeps plaster and other materials intact. |
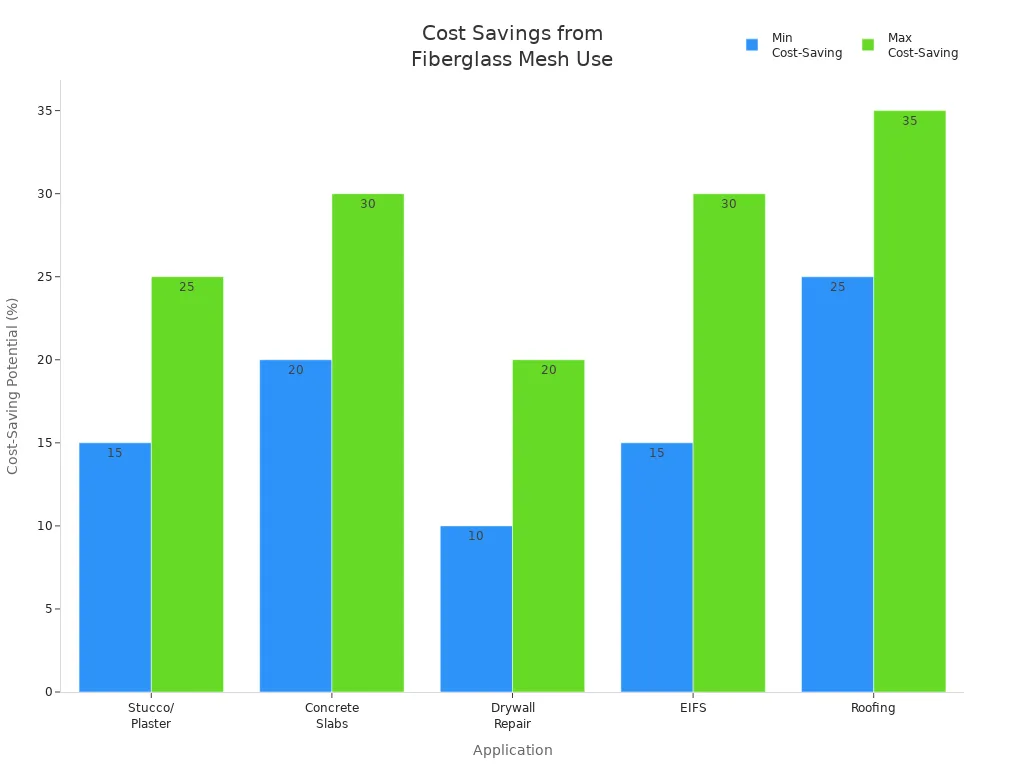
You also save money by preventing cracks. The chart below shows cost-saving potential for different applications:
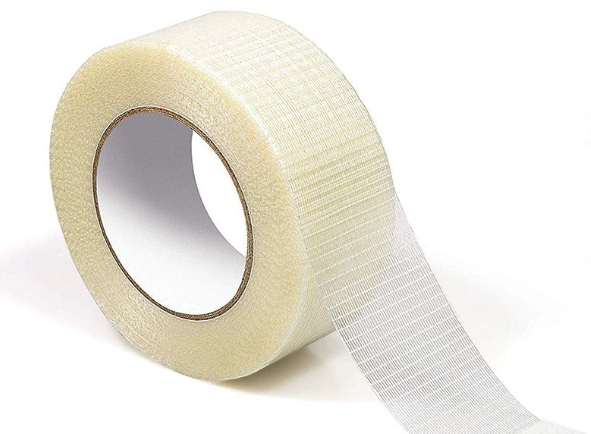
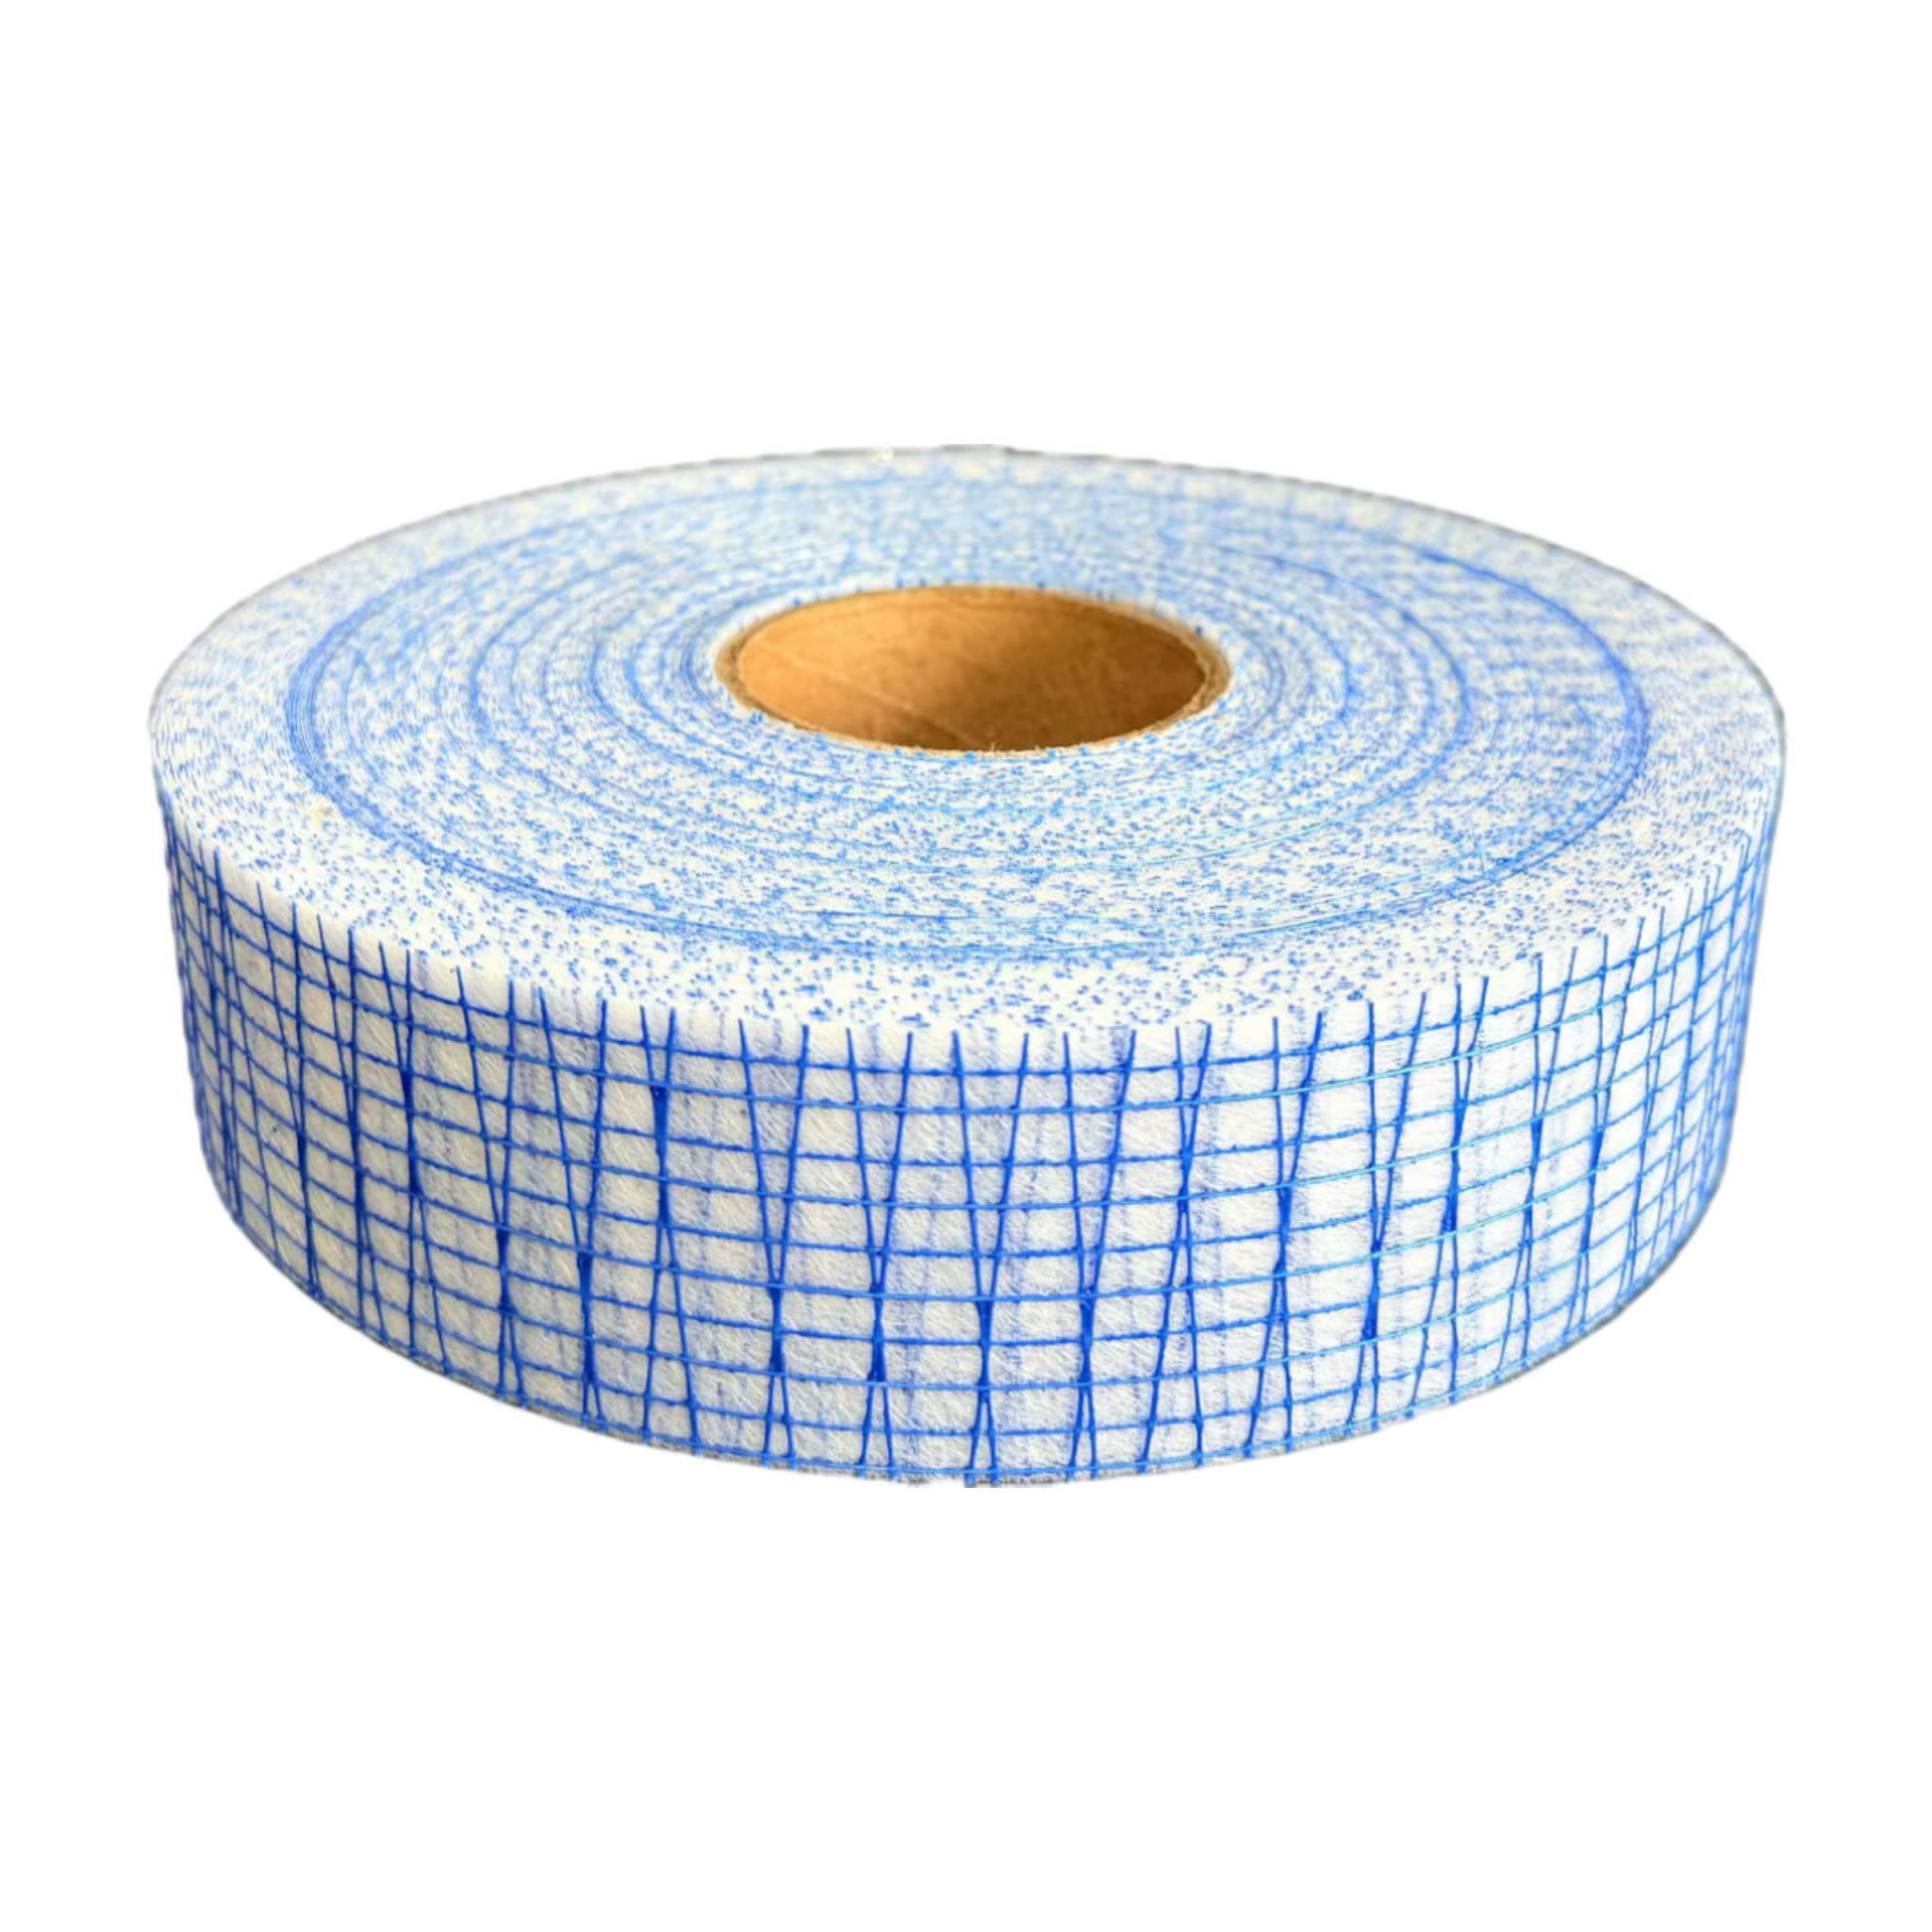
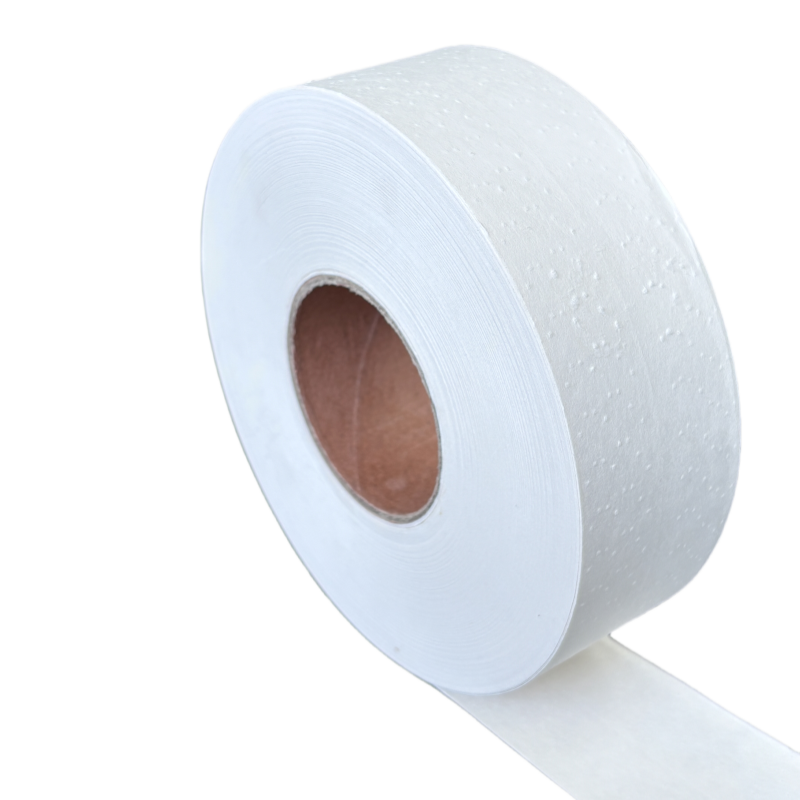
Fiberglass Self Adhesive Tape helps you repair drywall quickly. Laid Scrim adds stability to surfaces. Metal Corner Tape protects edges. Wall Patch covers holes and cracks, making repairs easy.
- 1.Fiberglass Mesh strengthens walls and tiles, preventing cracks and enhancing durability.
- 2.Proper surface preparation is crucial. Clean and repair surfaces to ensure strong adhesion.
- 3.Use the right tools and materials for installation. This includes utility knives, trowels, and appropriate adhesives.
- 4.Overlap mesh sheets by 10 centimeters to avoid weak spots and ensure a solid bond.
- Regular maintenance and inspections can extend the life of your fiberglass mesh installation.
Tools Needed for Installation
Materials Required for Walls and Tiles
You need the right tools to install Fiberglass Mesh for walls and tiles. Professional installers recommend several items that make the process easier and safer.
1.Utility knife or heavy-duty scissors help you cut mesh to size.
2.Staple gun or masonry nails secure mesh to surfaces.
3.Trowel (notched and finishing) spreads adhesive or mortar evenly.
4.Measuring tape and pencil allow you to mark and measure accurately.
5.Straight edge or level ensures your mesh sits flat and straight.
6.Safety gloves and eye protection protect your hands and eyes from sharp fibers.
Tip: Clean your workspace before you start. Wear dark clothes and use a well-lit area. Pick up scraps with tweezers and wash your hands after handling mesh. Dispose of fragments in a safe container.
Choosing the right materials helps you achieve strong adhesion and lasting results. The table below shows which mesh and adhesive types work best for different surfaces:
| Tile Type | Recommended Mesh Type | Recommended Adhesive Type |
|---|---|---|
| Heavy Tiles (Ceramic, etc.) | High-tensile-strength mesh with alkali-resistant coating | High-Modulus Adhesives |
| Lightweight Tiles (Vinyl) | Standard-grade mesh | Low-Modulus Adhesives |
| Large or Uneven Tiles | Heavy-duty, tightly woven fiberglass mesh | N/A |
| Cement Backer Board | Alkali-resistant mesh with medium-to-heavy weave | Polymer-modified mortar |
| Drywall and Plaster | Self-adhesive fiberglass mesh | N/A |
| Concrete and Masonry | Heavy-duty, open-weave mesh | Polymer-modified mortar |
You should check that your adhesive matches the mesh and surface. Water-based, acrylic, or cementitious compounds work well. Specialty meshes fit unique projects like exterior insulation or synthetic stucco. Test a small area if you use recycled or non-standard materials.
Fiberglass Mesh stands out because it resists corrosion and adapts to many designs. It offers excellent strength and durability. You can use it to reinforce old buildings and improve crack resistance. Its weather resistance helps your project last longer. When you handle mesh, follow safety steps to avoid dust and scraps.
Cleaning and Priming the Area
Repairing Cracks and Holes
You must fix any cracks or holes before installing Fiberglass Mesh. This step prevents future damage and ensures a smooth finish. Follow these steps to repair cracks:
1.Drill a small hole at each end of the crack. This stops the crack from spreading.
2.Widen the crack slightly with a rotary blade. This helps epoxy fill the space.
3.Fill the crack with fiberglass epoxy resin using a plastic applicator.
4.Let the epoxy dry for at least one day.
5.Smooth the area with sandpaper.
For holes, you follow a similar process:
1.Put on gloves, eye protection, and a respirator.
2.Clean the area with acetone and dry it.
3.Cut a bevel around the hole with a utility knife or grinder. Remove weak material.
4.Sand two to three inches around the hole with 80-grit sandpaper.
5.Wipe away dust and debris.
6.If needed, install mesh tape support over the hole.
You can also use a rotary tool to open cracks into a 'V' shape and sand the opening to make it rough. These steps help the adhesive bond strongly and keep your repairs durable.
You start by making sure your wall or tile surface is clean and ready for Fiberglass Mesh. Dirt, grease, and dust can weaken the bond between the mesh and the surface. You remove all loose particles using a brush or vacuum. If you see stains or oily spots, wipe them away with a damp cloth or mild detergent. Dry the area completely before moving to the next step.
Surface preparation increases bond strength. You improve adhesion by eliminating contaminants and minimizing oxide layers. You can use sanding, etching, or abrasive blasting to roughen the surface. These methods create tiny crevices that help adhesives stick better. When you sand, use medium-grit sandpaper and move in circles. This technique increases the surface area and allows the adhesive to penetrate deeper.
Measuring and Cutting the Mesh
You select the right adhesive or mortar for your project. The choice depends on the surface and the type of mesh. Use a trowel to spread the adhesive evenly. Keep the layer smooth and consistent. The optimal thickness for adhesive is between 0.1 and 0.3 millimeters. This range gives you the best joint strength and prevents delamination.
| Adhesive Thickness (mm) | Joint Strength Effect |
|---|---|
| 0.1 | Optimal |
| 0.2 | Optimal |
| 0.3 | Optimal |
| ≥0.5 | Strength Degradation |
| ≤0.1 | Reduced Strength |
You can choose from several products that work well with Fiberglass Mesh. The table below shows popular options and their instructions:
| Product Name | Description | Usage Instructions |
|---|---|---|
| Mapelastic AquaDefense | A waterproofing membrane suitable for use with fiberglass mesh. | Ensure proper application on porous substrates for optimal results. |
| MAPEI Type 1™ Mastic | Ready-to-use tile adhesive for tile and stone applications. | Should not be installed over waterproofing membranes. |
| MAPEI Premium Mortar | High-performance mortar for tile and stone. | Requires a porous substrate to cure properly. |
Using these adhesives eliminates the need to mix thinset. You reduce the time spent buttering each tile. Cleanup becomes easier, and you save money by reducing thinset waste.
Placing and Securing the Mesh
Smoothing and Removing Air Bubbles
You need to smooth the surface and remove air bubbles after placing the mesh. Air bubbles can cause problems that weaken your wall or tile. You can use a trowel, straight edge, or roller to press the mesh into the adhesive. Start at the center and move outward. This method pushes trapped air toward the edges.
Air bubbles under the mesh can lead to several issues:
- Voids form as small pockets of air or gas. These pockets reduce the load-bearing capacity of your wall or tile.
- Delaminations appear when layers separate. This happens because the mesh does not bond well, or stress builds up. Weak spots develop and make the surface less stable.
- Reduced mechanical properties affect strength. You may notice lower tensile strength, compressive strength, or fracture toughness.
You can avoid these problems by smoothing the mesh carefully. Use a table to track your progress:
| Step | Tool Used | Result |
|---|---|---|
| Press mesh center | Trowel/roller | Air moves to edges |
| Smooth outward | Straight edge | Mesh sits flat |
| Inspect for bubbles | Hands/eyes | No visible pockets |
If you find stubborn bubbles, lift the mesh slightly and reapply adhesive. Press the mesh back down and smooth again. You should repeat this process until the surface feels even and firm.
You begin by measuring the area where you plan to install Fiberglass Mesh. Use a tape measure to check the length and width of the wall or tile surface. Mark the measurements with a pencil. Cut the mesh using a utility knife or heavy-duty scissors. Make sure your cuts are straight and match the size of the surface.
When you need to cover large areas, overlap each sheet of mesh by 10 centimeters. This overlap prevents weak spots and helps the mesh reinforce the surface.
1.Overlapping sheets by 10 cm ensures a strong bond.
2.You avoid gaps that could lead to cracks.
Tip: Lay out the mesh before cutting. Double-check your measurements to avoid waste.
Avoiding Common Mistakes
You can achieve a strong and smooth finish by avoiding common mistakes during installation. Many people skip important steps or use the wrong tools. This leads to weak spots, cracks, or visible mesh lines. The table below shows the most frequent errors and how you can prevent them:
| Application Stage | Key Objectives | Common Mistakes | Recommended Tools & Materials |
|---|---|---|---|
| Surface Prep | Create a clean, stable base | Skipping cleaning or crack repair | Sponge, scraper, patching compound, sandpaper |
| Cutting Mesh | Accurate sizing and shaping | Improper overlap or jagged edges | Utility knife, measuring tape, straightedge |
| Bonding | Ensure strong adhesion | Using expired compound or uneven spread | Putty knife, joint compound, mixing bucket |
| Placement | Eliminate bubbles and gaps | Mesh misalignment or floating edges | Mesh tape, taping knife, spray bottle |
| Securing | Full embedment and smooth finish | Too thick a coat or visible mesh | Joint compound, wide taping knife, corner tools |
| Finishing | Seamless integration with wall | Sanding too aggressively or skipping primer | Sandpaper, primer, paint, roller or brush |
Maintenance and Care
You can extend the life of your wall or tile by following simple maintenance steps. Regular care keeps your surface looking new and prevents hidden damage. Use the table below to guide your routine:
| Maintenance Practice | Description |
|---|---|
| Regular Inspection | Check your walls or tiles every six months. In harsh areas, inspect every three to four months. |
| Proper Cleaning | Wash with mild detergent and lukewarm water. Avoid harsh chemicals and rough scrubbers. |
| Storage Practices | Store extra mesh in a cool, dry place. Roll it loosely and keep it in a sealed bag or container. |
| Installation Best Practices | Handle mesh gently. Use blunt tools and make sure seams overlap for better durability. |
Note: Small cracks or stains can signal bigger problems. Fix them early to keep your Fiberglass Mesh strong and effective.
By following these tips, you protect your investment and enjoy long-lasting, crack-free walls and tiles.
You can install Fiberglass Mesh with confidence when you follow each step carefully. Construction experts agree that proper installation brings lasting benefits. The table below shows how your project gains strength and durability:
| Benefit | Explanation |
|---|---|
| Durability | Mesh lasts decades without losing functionality. |
| Crack Resistance | Prevents early-age cracking and extends lifespan. |
| Moisture Resistance | Works well in wet areas and reduces maintenance. |
| Reduced Repair Costs | Fewer repairs save money in homes and businesses. |
| Enhanced Structural Integrity | Improves building strength and resilience. |
You protect your walls and tiles for years by using these tips.
You place the Fiberglass Mesh onto the adhesive while it is still wet. Start at one edge and press the mesh firmly into the adhesive. Use a straight edge or trowel to smooth the mesh and remove air bubbles. Make sure the mesh sits flat and covers the entire area.
Secure the mesh by pressing it gently but firmly. If you work on walls, use a staple gun or masonry nails for extra support. For tiles, rely on the adhesive to hold the mesh in place. Overlap each sheet by 10 centimeters to reinforce the surface.
- Press the mesh into the adhesive.
- Smooth out wrinkles and bubbles.
- Overlap sheets by 10 cm for strength.
You finish this step by checking that the mesh covers all cracks and holes. The mesh should look smooth and even. You prepare the surface for the next layer or tile.
FAQ
How do you cut fiberglass mesh without fraying?
You use a sharp utility knife or heavy-duty scissors. Cut along a straight edge for clean lines. Press down firmly to avoid loose fibers. Wear gloves to protect your hands from sharp edges.
Can you paint over fiberglass mesh?
Yes, you can paint over fiberglass mesh after applying a finishing layer. Make sure the surface is dry and smooth. Use a primer before painting for the best results.
What should you do if air bubbles appear under the mesh?
You press the mesh gently with a trowel or roller. Start at the center and move outward. If bubbles remain, lift the mesh slightly, add more adhesive, and press it back down.
Is fiberglass mesh safe for wet areas like bathrooms?
Yes, fiberglass mesh works well in wet areas. It resists moisture and prevents cracks. Use alkali-resistant mesh and waterproof adhesives for the best protection.
How long does fiberglass mesh installation last?
Properly installed fiberglass mesh can last for decades. Regular inspection and maintenance help keep your walls and tiles strong and crack-free.
Address
info@ruifiber.com
ruifibersales2@ruifiber.com
Phone
Sales: 0086-159-6804-7621
Support: 0086-186-2191-5640
Hours
Monday-Friday: 9am to 6pm
Saturday, Sunday: Closed
WANT TO WORK WITH US?
Post time: Mar-20-2026