
Tips for Repairing Wall Corners with Tape
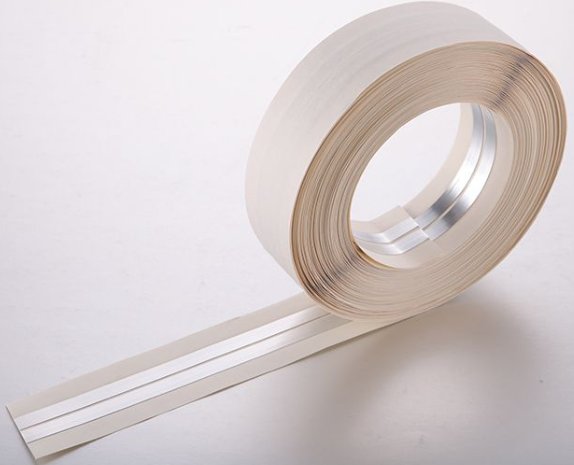
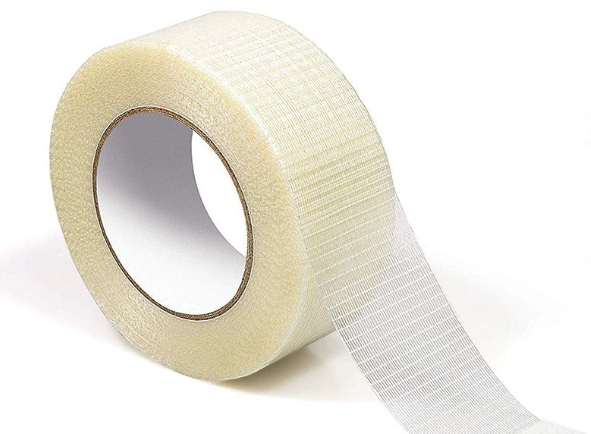
You can fix a damaged wall corner with just a few simple tools. When you use wall corner tape, you blend the repair into the wall so no one notices the patch. You might pick Paper Tape, Metal Corner Tape, or even Fiberglass Mesh for the job. Some people also try Alkali Resistant Roofing Fiberglass Mesh for Construction if they want extra strength. No matter what you use, a good wall patch starts with patience and the right technique.
Key Takeaways
- 1.Start with a clean surface. Remove dust and loose material to ensure the tape adheres properly.
- 2.Choose the right tape. Paper tape is best for strong, smooth finishes, while mesh tape is good for quick repairs.
- 3.Apply joint compound in thin layers. Thin coats dry faster and reduce the risk of cracks.
- 4.Allow proper drying time between coats. Each layer needs at least 24 hours to dry for the best results.
- 5.Use clean tools. Keeping your tools clean helps achieve a smooth finish and prevents mistakes.
Essential Tools for Wall Corner Repair
You want your wall corners to look sharp and clean. The right tools make the job easier and help you get a professional finish. Here’s what you need for repairing wall corners with tape:
1.Drywall corner tools help you shape and smooth the corners.
2Joint tapes let you patch cracks and gaps for reliable repairs.
3.Premixed compound gives you more time to work and sands easily.
4.A corner wipe-down tool cleans away extra compound in tight spots.
5.Dust-free sanding solutions keep your workspace cleaner.
6.Specialty corner tools help you finish tricky areas.
Recommended Materials for Taping Corners
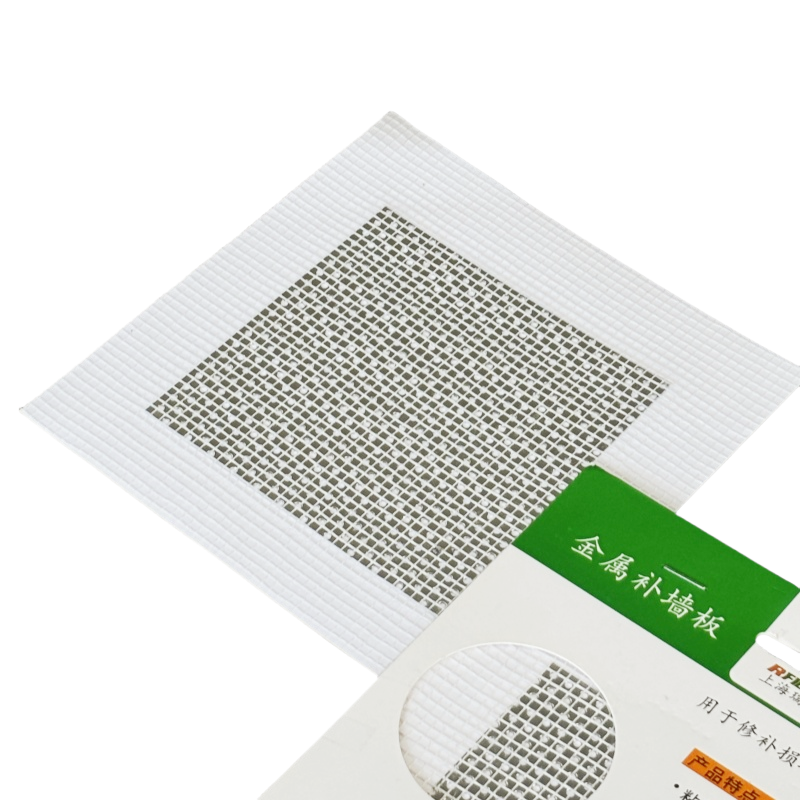
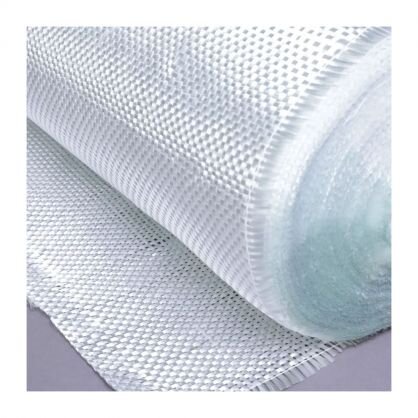
Choosing the right materials is just as important as picking the right tools. You want your repair to last and blend in with the rest of the wall. For inside corners, paper tape works best. It’s strong and easy to use. Some people use fiberglass mesh tape, but paper tape gives you a smoother finish.
Here’s a quick list of materials you’ll need:
1.Joint compound for filling and smoothing.
2.Drywall tape (paper or fiberglass mesh) for covering seams.
3.Taping knives in different sizes (4-inch, 6-inch, and 10-12-inch) for spreading compound.
4.Mud pan to hold your compound while you work.
5.Sanding sponge or drywall sanding pole for smoothing the surface.
6.Utility knife for cutting tape and trimming edges.
7.Corner trowel for shaping inside corners.
You can use wall corner tape to reinforce the repair and make the corner stronger. With these tools and materials, you’re ready to tackle any wall corner repair. Just take your time and follow each step.
Cleaning and Removing Loose Material
Before you start taping, you need a clean surface. Dust, dirt, and loose plaster can stop the tape from sticking. Grab a putty knife or a stiff brush. Scrape away any flaking paint or crumbling drywall. If you see old joint compound that’s peeling, remove it too. You want the wall to feel solid under your hand.
Next, wipe the area with a damp sponge. This step picks up any leftover dust. Let the wall dry before you move on. If you skip this, the tape might bubble or peel later.
Inspecting for Structural Damage
You don’t want to cover up bigger problems. Take a close look at the wall corner. Watch for cracks that run in a stair-step pattern along mortar joints. These can mean the wall is under stress. Horizontal or diagonal cracks near the corner also signal trouble. If you spot gaps around windows or doors wider than 1/4 inch, that’s a red flag.
Check where the wall meets the ceiling or floor. If you see separation or openings about 1/4 inch wide, you might have foundation movement. Press your hand along the wall. If it feels bowed or bulging, stop and get a professional opinion.
Look for these warning signs:
1.Stair-step cracks
2.Horizontal or diagonal cracks
3.Gaps wider than 1/4 inch
4.Separation at joints
5.Bulging walls
If you find any of these, take photos and measure the cracks. Watch for changes over time. Cracks that keep growing or get wider need expert help. Don’t just patch over them. Fixing the structure first will save you headaches later.
Choosing and Mixing the Right Compound
You want your wall corners to look smooth and strong. Picking the right joint compound makes a big difference. There are a few types you can use for wall corner repairs. Each one has its own benefits. Take a look at this table to help you decide:
| Type of Joint Compound | Benefits for Wall Corner Repairs |
|---|---|
| All-Purpose Compound | Lightweight, durable, versatile, good for all phases of drywall work. |
| Taping Compound | Dries harder, excellent bonding strength, great for covering cracks. |
All-purpose compound works well if you want something easy to use. It sands down nicely and feels light in your hand. Taping compound dries harder and sticks better to cracks. You might use taping compound for the first coat, then switch to all-purpose for the final layers.
When you mix the compound, follow the instructions on the package. Pour the powder into a clean bucket. Add water a little at a time. Stir until you see a smooth, creamy texture. You don’t want lumps. If you use premixed compound, just give it a quick stir before you start. Make sure your tools stay clean. Dirty tools can leave marks in your finish.
Spreading Compound Evenly on Both Sides
Now you’re ready to apply the joint compound. You want both sides of the wall corner to look even. Here’s how you can do it:
1.Grab a drywall knife. Start at the top of the corner seam. Pull the knife down with even pressure. Cover both sides of the corner bead with a thin layer of compound.
2.Keep your layers thin and smooth. Thick layers can crack or take too long to dry.
3.Hold your taping knife at a slight angle. This helps you smooth out the compound and remove any lumps.
Work slowly. Don’t rush. If you see extra compound, scrape it off with your knife. You want a flat, even surface. Let the first coat dry before you add more. This step helps your wall corner tape stick better and gives you a strong base for the next layers.
Note: If you notice bubbles or gaps, press the compound into the corner again. Smooth it out right away.
You can use these steps for inside or outside corners. The goal is to make the repair blend in with the rest of the wall. With practice, you’ll get a finish that looks just like new.
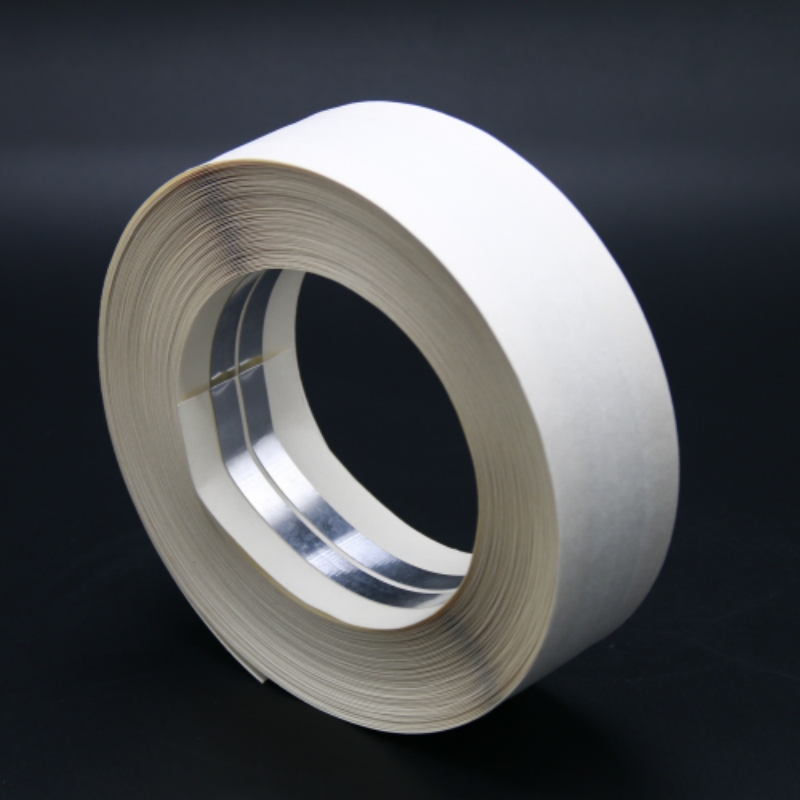
Selecting Paper vs. Mesh Wall Corner Tape
You have two main choices when it comes to wall corner tape: paper tape and mesh tape. Each type has its own strengths and weaknesses. Picking the right one can make your repair easier and last longer.
Here’s a quick look at how they compare:
| Feature | Paper Tape | Mesh Tape |
|---|---|---|
| Application Difficulty | Requires skill to avoid bubbles and blistering | Easier to apply, self-adhesive |
| Strength | Strong bond, ideal for high-stress areas | Weaker, may crack if not reinforced |
| Cost | More affordable per roll | Quicker application may save on labor costs |
| Durability | Excellent for long-term use | Good for quick repairs, resistant to mold |
| Corner Application | Easier to fold and apply in corners | May require more effort to achieve clean corners |
| Appearance | Provides a smooth finish | Texture may show through paint |
Let’s break it down even more:
Advantages of Paper Tape
1.You get a stronger bond for drywall seams.
2.It folds easily, so you can use it in corners without trouble.
Disadvantages of Paper Tape:
1.You need some skill to apply it well.
2.If you don’t press it in right, you might see bubbles or blisters.
Advantages of Mesh Tape:
1.It sticks by itself, so you can put it up fast.
2.It fights off mold, which helps in damp rooms.
Disadvantages of Mesh Tape:
1.It doesn’t hold as strong as paper tape, so cracks can show up.
2.The mesh texture might show through your paint.
In short, paper tape works best for most wall corners. It gives you a strong, smooth finish that lasts. Mesh tape is good if you want a quick fix or need something for a bathroom or basement. Think about your skill level and where you’re making the repair before you choose your wall corner tape.
Folding and Embedding Tape into the Corner
Now you’re ready to use your wall corner tape. This step makes your repair strong and neat. Here’s how you do it:
1.Measure and Cut: Hold the tape up to the corner. Cut a piece that’s a little longer than the seam.
2.Fold the Tape: If you use paper tape, you’ll see a crease down the middle. Fold the tape along this line. This helps it fit right into the corner.
3.Embed the Tape: Press the folded tape into the wet joint compound. Start at the top and work your way down. Use your fingers to set it in place.
4.Smooth the Tape: Grab your drywall knife. Press the tape gently into the compound. Pull the knife down each side of the corner. This pushes out air bubbles and extra mud.
5.Wipe Away Excess: Clean off any extra compound that squeezes out. You want the tape to sit flat with no wrinkles or bubbles.
Tip: If you see bubbles under the tape, lift it up and add a little more compound. Press it back down and smooth it out again.
If you use mesh tape, you don’t need to fold it. Just stick it right into the corner. Press it in so it sticks well, then cover it with a thin layer of compound.
Take your time with this step. A neat job now means less sanding later. When you finish, your wall corner tape should look straight and smooth. You’re ready for the next coat once it dries.
Using a Drywall Knife for Clean Edges
You want your wall corners to look sharp and straight. A drywall knife helps you get those clean edges. You can use a special tool called a Corner Pro Drywall Corner/Coving Knife. This tool makes it easy to wipe down extra joint compound from inside angles and outside bullnose corners. Take a look at what this tool can do:
| Feature | Description |
|---|---|
| Tool Name | Corner Pro Drywall Corner/Coving Knife |
| Uses | Wiping down excess drywall mud from inside angles and outside bullnose |
| Additional Functions | Great for splay and angles wider than 90°, cleaning your drywall mud bucket |
You can use this knife to press the tape into the corner and smooth out the mud. For inside corners, paper tape works best because it folds easily and fits tight. If you want to install outside corner beads, grab a staple gun and fasten the bead every 10 to 12 inches. This keeps everything in place while you work.
Removing Excess Joint Compound
You don’t want lumps or ridges in your finished wall. Removing extra joint compound is easy if you follow these steps:
1.Apply joint compound in thin, feathered coats with a taping knife. Spread the mud about six inches out from the corner on each side.
2.Press the drywall tape firmly into the mud. Wipe away any extra material as you go. This stops ridges from forming.
3.Let the first coat dry. Sand it lightly with fine-grit sandpaper (220-grit) to smooth out bumps.
4.Use a wider knife, like an 8-inch or 10-inch, for the next coat. This helps blend the repair into the wall.
5.Work in good light. Check for any lines or bumps. Don’t rush the drying time between coats.
Allowing Proper Drying Time Between Coats
You might feel excited to finish your wall corner repair quickly, but drying time matters a lot. If you rush, you can end up with cracks or a bumpy finish. After you apply your first coat of joint compound, you need to let it dry all the way through. Here’s what you should know:
1.The joint compound needs at least 24 hours to dry between coats.
2.If you add a new layer before the last one dries, you risk cracks and peeling.
3.Waiting for each layer to dry gives you a smoother, stronger finish.
You can touch the surface to check if it feels cool or damp. If it does, give it more time. Sometimes, humidity or cold weather makes drying take even longer. Open a window or use a fan to help speed things up, but don’t try to cheat the clock. Patience pays off with better results.
Applying Successive Coats for a Seamless Finish
Once your first coat dries, you’re ready for the next step. Most wall corner repairs only need one fill coat after you embed the tape. This coat helps hide the tape and smooth out the surface. Here’s how you can get a seamless finish:
1.Use a wider drywall knife for each new coat. Start with a 6-inch knife, then move up to a 10- or 12-inch knife.
2.Feather the edges of each coat so the repair blends into the wall.
3.Sand lightly between coats to knock down any bumps or ridges.
You don’t need to pile on lots of compound. One good fill coat usually does the trick. If you see any low spots or rough patches, you can add a thin skim coat. Always let each layer dry before you sand or add more compound.
Sanding for a Smooth Surface
You want your wall corners to look perfect before you paint. Sanding makes all the difference. Start by checking if the joint compound feels dry and hard. If it does, you can begin.
Grab a sanding sponge for inside corners. This tool bends and fits right into the angle. It helps you smooth out tight spots without scratching the wall. For outside edges, try a corner sanding tool. This tool shapes sharp corners and keeps them crisp.
Priming and Painting the Repaired Area
Now your wall corner feels smooth. You’re ready for primer and paint. Always prime patched spots before painting. Primer helps the paint stick and keeps the color even. If you skip primer, you might see dull spots later.
Use a drywall primer sealer for the best results. Apply it with a small brush or roller. Let it dry all the way. Before you start, wipe away any dust with a damp cloth. This step helps the primer stick better.
Here’s a quick checklist:
1.Sand patched areas until they feel flush with the wall.
2.Wipe away dust before priming.
3.Use a drywall primer sealer.
4.Let the primer dry completely.
5.Paint over the primed area with your chose
Working in Thin, Even Layers
You want your wall corners to look smooth and professional. The secret is to work in thin, even layers. Thick layers take longer to dry and can crack or sag. Thin coats dry faster and blend into the wall better. You do not need to rush. Take your time with each step.
Here are some quick tips for applying joint compound:
1.Use a small amount of compound on your knife.
2.Spread the compound in one direction.
3.Feather the edges so you do not see lines.
4.Let each layer dry before adding the next.
Tip: If you see ridges or bumps, scrape them off before the compound dries. This makes sanding easier later.
You will get better results if you build up the surface slowly. Three thin coats look better than one thick coat.
Keeping Tools Clean for Best Results
Clean tools help you get a smooth finish. Dry compound can leave scratches and lumps in your work. You should clean your knives, pans, and sanding tools after each use. This keeps your tools ready for the next coat.
Try these steps to keep your tools in top shape:
1.Wipe off extra compound with a damp rag.
2.Rinse your tools with warm water.
3.Dry them with a clean towel.
4.Store your tools in a dry place.
Note: Clean tools last longer and make your job easier.
When you use wall corner tape, clean tools help you press the tape flat and smooth. You will spend less time fixing mistakes and more time enjoying your finished wall.
When you repair wall corners, you want a smooth finish. Sometimes, small mistakes can make your job harder. Let’s look at the most common problems people run into when using wall corner tape.
Overloading with Joint Compound
You might think more mud means a stronger repair. That’s not true. Using too much joint compound can cause big problems. Thick layers take forever to dry. They can crack or leave bulges on your wall. You’ll spend extra time sanding and fixing mistakes.
Here are some things to watch out for:
1.Applying a heavy coat of compound in one go
2.Using thick mud instead of mixing it to a creamy texture
3.Trying to cover everything with one thick layer
If you overload the corner, the tape can shift or even tear. You want to build up the surface with several thin coats. Each layer should dry before you add the next. This way, your wall looks flat and even.
Not Embedding Tape Properly
If you don’t press the tape into the compound the right way, you’ll see bubbles or wrinkles. Sometimes, people push too hard with the knife. This can move the tape or damage it. If you don’t use enough pressure, the tape won’t stick.
Here’s how to avoid this mistake:
1.Press the tape gently into the wet compound
2.Smooth it with a drywall knife, starting at the top and working down
3.Wipe away extra mud as you go
Take your time with this step. If you see bubbles, lift the tape and add a little more compound. Press it back down and smooth it out. When you embed the tape well, your wall corner tape will stay strong and look great.
Note: Good technique now means less sanding and patching later.
You can repair wall corners with tape and get a result that looks sharp and clean. Careful preparation makes your repair last longer. Here are some things you should remember:
1.Clean the area before you start. Dirt and dust can ruin your finish.
2.Inspect the corner bead for hidden damage.
3.Use the right tools for smooth cuts and edges.
4.Apply joint compound in thin layers and feather the edges.
5.Let each coat dry before sanding and painting.
FAQ
How long does wall corner tape take to dry?
You usually need to wait 24 hours for each coat of joint compound to dry. If your room feels humid or cold, drying might take longer. Always check if the surface feels dry before you add another layer.
Can I use mesh tape for all wall corners?
You can use mesh tape for quick repairs. Paper tape works better for most corners because it gives you a stronger bond and a smoother finish. Mesh tape is good for damp areas like bathrooms.
What should I do if bubbles appear under the tape?
If you see bubbles, lift the tape gently. Add a bit more joint compound underneath. Press the tape back down and smooth it out with your drywall knife. This helps you get a flat, clean corner.
Do I need to sand between coats?
Yes, you should sand lightly between coats. This removes bumps and helps each layer stick better. Use a sanding sponge or fine-grit sandpaper. Always wipe away dust before you add more compound.
Can I paint right after sanding?
You need to prime the repaired area first. Primer helps paint stick and keeps the color even. After priming, you can paint your wall corner with your chosen color. This gives you the best results.
Address
info@ruifiber.com
ruifibersales2@ruifiber.com
Phone
Sales: 0086-159-6804-7621
Support: 0086-186-2191-5640
Hours
Monday-Friday: 9am to 6pm
Saturday, Sunday: Closed
WANT TO WORK WITH US?
Post time: Apr-03-2026