
Fiberglass Mesh for Waterproofing: Where It Goes and How to Choose the Weight
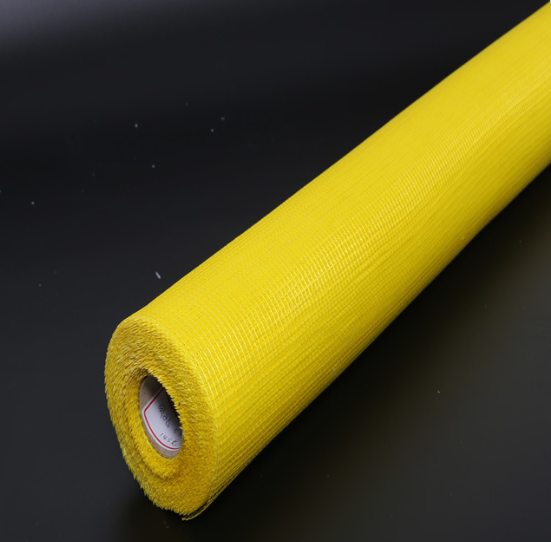
What mesh does (and does not do) in a waterproofing layer
Let’s clear up the most common misconception first: the mesh is not a waterproofing material. It does not stop water; the membrane — the liquid-applied coating or cementitious waterproof layer — is what seals. What the mesh does is act as the reinforcement skeleton inside that membrane: it distributes stress, bridges small substrate movement, and holds a cracked-prone coating together as one continuous skin. The protection performance of the system still comes from the membrane chemistry and its thickness; the mesh determines whether that membrane survives movement or splits along it.
This is why “just use mesh” is not a specification. The mesh must be compatible with the membrane, thick enough for the service, and correctly embedded — all three, or it contributes nothing.
Where the mesh goes: the middle of the sandwich
The consistent practice across guides and systems is to embed the mesh inside the membrane, not lay it on top or under it. The working sequence for liquid-applied systems:
- Prime or apply the first (base) coat of the waterproofing material onto the prepared substrate.
- Lay the mesh into the wet first coat while it is still wet, pressing it flat and working out the air bubbles so the coating penetrates through the grid — the mesh must be fully wetted, with no floating edges.
- Cover completely with the top coat, so the mesh sits fully enclosed inside the membrane — no mesh visible, no wrinkles, no dry spots.
A mesh layer left exposed or laid dry under a coat that can’t grip it will delaminate or channel; the sandwich is the point. The same logic applies in cementitious waterproofing mortars, where the mesh is embedded in the middle of the render layer.
Choosing the weight by area
Weight in grams per square meter is the main spec knob. Treat the numbers as common industry practice, not a standard — the right weight always follows the membrane system and the traffic the surface will take.
| Band | Typical use (as commonly cited) | Notes |
|---|---|---|
| 40–65 g/m² | light reinforcement in thin liquid membranes, detailing around windows and doors | most conformable; for stable, low-stress surfaces |
| 80–110 g/m² | standard cementitious waterproofing on walls and floors, balconies, terraces | the general-purpose middle band |
| 120–160 g/m² | roof waterproofing, including areas with foot traffic; wet rooms; heavy exterior coatings | roof guidance across Chinese and English guides converges here |
| 200+ g/m² | basement and other high-load or below-grade areas | heavier construction for sustained load |
Mesh size matters alongside weight: coarser openings (8×8 to 10×10 mm) let thick coatings penetrate fully; finer grids (around 5×5 mm) suit thinner coats and smoother finishes.
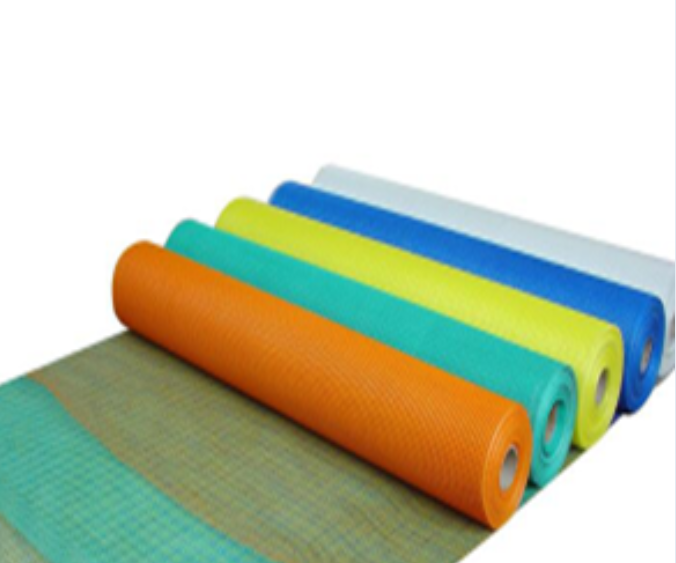
For scale, Ruifiber’s flexible mesh line covers 30–600 g/m² overall (widths 500–2400 mm, in soft/standard/hard tempers), with published models from 75 to 160 g/m² — the standard and roof bands above are squarely inside the published range.
A worked example: balcony renovation
Put the decision together for a concrete balcony being recoated with a two-component cementitious waterproofing slurry. The substrate is stable but the slab edge, the drain and the wall junction all move, and the finished surface will see foot traffic.
The weight band points to the roof/traffic range — commonly cited at 120–160 g/m² — because impact and thermal movement, not just water, drive the spec. A ~5×5 mm grid suits the slurry’s viscosity and gives the top coat enough contact. The installation order runs exactly as the sandwich describes: prime, lay the mesh into the wet first coat with 100 mm overlaps at every seam, then detail strips — an extra band of mesh up the wall junction, around the drain, wrapped over the slab edge — before the top coat goes over everything.
Will it work with your coating?
Chemistry decides the pairing. Cementitious and polymer-modified cement waterproofing coatings are alkaline, which is exactly the environment alkali-resistant fiberglass mesh with a polymer coating is built for — the pairing is natural and widely used.
Polyurethane and acrylic liquid membranes are a different story: they are not cement-based, so alkali attack is not the issue — wet-out is. The coating must fully penetrate and encapsulate the mesh for the reinforcement to engage, so compatibility and a small test patch before full-scale application are the sensible moves.
One more chemistry note: the acrylic copolymer coating on the mesh is what protects the glass from alkalinity and bonds the laminate together — coating content is a quantified datasheet item (Ruifiber publishes resin content above 18% on its mesh specification). Coating quality, not just glass type, decides how the mesh ages inside the membrane.
Installation points that decide the outcome
- Overlap at least 100 mm (about 4 inches) between mesh sections — a common industry practice — so the reinforcement is continuous rather than breaking at the joint.
- Reinforce the details: internal and external corners, pipe penetrations and drains get extra mesh strips, with upturns at wall junctions and parapets — these are the exact spots where the membrane would otherwise crack first.
- Start from a clean, sound, flat substrate — no standing water, oil, or loose material under the first coat.
- Lay into wet, not onto dry — press the mesh flat and expel air so the coating wraps every yarn; wrinkles and exposed mesh are the visible symptoms of skipping this.
- Bridge existing cracks properly — open the crack into a V, fill with sealant, then embed mesh over it; mesh laid straight over an active crack transfers the crack to the surface.
Glass or polyester mesh?
Reinforcement meshes come in glass and polyester, and the choice follows the movement profile: fiberglass is stiff and alkali-resistant, which suits cement-based systems where dimensional stability matters; polyester is more flexible and accommodates larger substrate movement, which suits bituminous and high-deformation scenarios — at the cost of lower stiffness. For the liquid-applied and cementitious systems covered in this guide, alkali-resistant glass mesh is the default.
One handling note that applies to both: mesh rolls should be stored dry and flat, and cut edges of a leno-woven mesh hold their grid without unraveling — that weave stability is worth checking on a sample before a large order.
What to ask your mesh supplier
- Alkali-aging test report — retention of tensile strength after 28-day alkaline exposure. Ask for the report, not the claim.
- Coating type and content — acrylic copolymer chemistry and a disclosed content level (≥18% of mesh weight).
- Weight, mesh size and width — matched to the membrane system and the areas in scope.
- Weave and temper — leno weave holds the grid geometry when cut; soft/standard/hard temper to match the lay-up.
FAQ
Can I skip the mesh on small areas?
Small, sound, low-movement areas sometimes get away without reinforcement, but corners, joints, drains and any repair over a crack are exactly where the membrane fails first.
Should the mesh go inside or on top of the membrane?
Inside — laid into the wet base coat and fully covered by the top coat. Exposed mesh weathers and delaminates.
Why did my membrane wrinkle or show mesh through?
Wrinkles mean the mesh was laid into a coat that was too dry; show-through means the top coat is too thin to encapsulate the grid.
Reinforce where it moves
Pick the weight for the area and traffic, lay it into the wet middle of the system, respect the overlaps and details.
Post time: Nov-05-2026